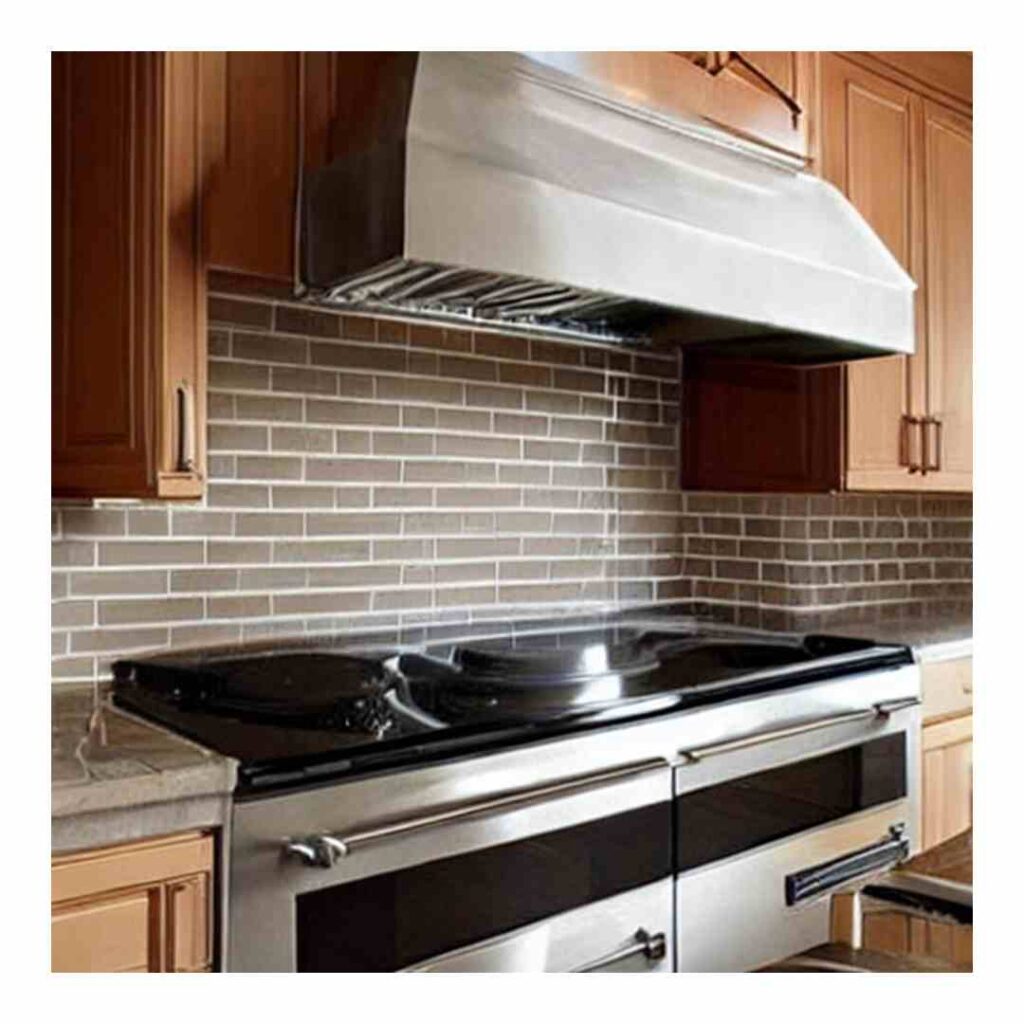
The specific repair process for an extractor fan can vary depending on the issue at hand. Here are some general steps I would take to repair an extractor fan:
- Identify the problem: The first step in repairing an extractor fan is to identify the specific issue. This may involve inspecting the fan blades, motor, electrical connections, or other components to determine the source of the problem.
- Turn off power: Before attempting any repairs, it’s important to turn off the power to the extractor fan to avoid electrical shock. This can be done by switching off the circuit breaker or unplugging the unit.
- Clean the fan: Often, extractor fans malfunction due to dirt and grease buildup on the blades or other components. Cleaning the fan thoroughly may solve the problem. Use a mild detergent and warm water to clean the blades, motor, and other components, then dry them thoroughly.
- Replace faulty parts: If the issue is with a specific component, such as a faulty motor or damaged fan blade, it may be necessary to replace that part. Replacement parts can typically be purchased from the manufacturer or an appliance parts store.
- Test the fan: After making any repairs or replacing parts, test the fan to ensure it’s functioning properly. Turn the power back on and run the fan at different speeds to ensure it’s operating quietly and effectively.
If you’re not comfortable with DIY repairs or if the issue is more complex, it’s always best to contact a professional appliance repair technician like me, Appliance Ace, for expert assistance.
Leave a Reply