Introduction: The Unseen Hero in HVAC Systems
In the world of survival and self-sufficiency, every component of your environment plays a pivotal role. For those of us who prioritize comfort and efficiency, especially under the pressing demands of modern life, understanding the intricacies of our home systems is essential. Today, I’m here to walk you through a vital but often overlooked aspect: the condensing fan motor replacement. More specifically, we’ll explore the high-efficiency 1/4 HP condenser fan motor rated for 208/230 volts and 60 Hertz—a true powerhouse that can breathe new life into your HVAC system.
Why Replace Your Condensing Fan Motor?
As I often say, preparedness is about being knowledgeable and proactive. A malfunctioning condensing fan motor can lead to fluctuating temperatures, increased energy bills, and over time, can wreak havoc on your HVAC system. The good news? The high-efficiency 1/4 HP condenser fan motor is not only an ideal replacement; it’s crafted for reliable, consistent performance that stands up to the rigors of any season.
Key Benefits of Upgrading Your Condensing Fan Motor
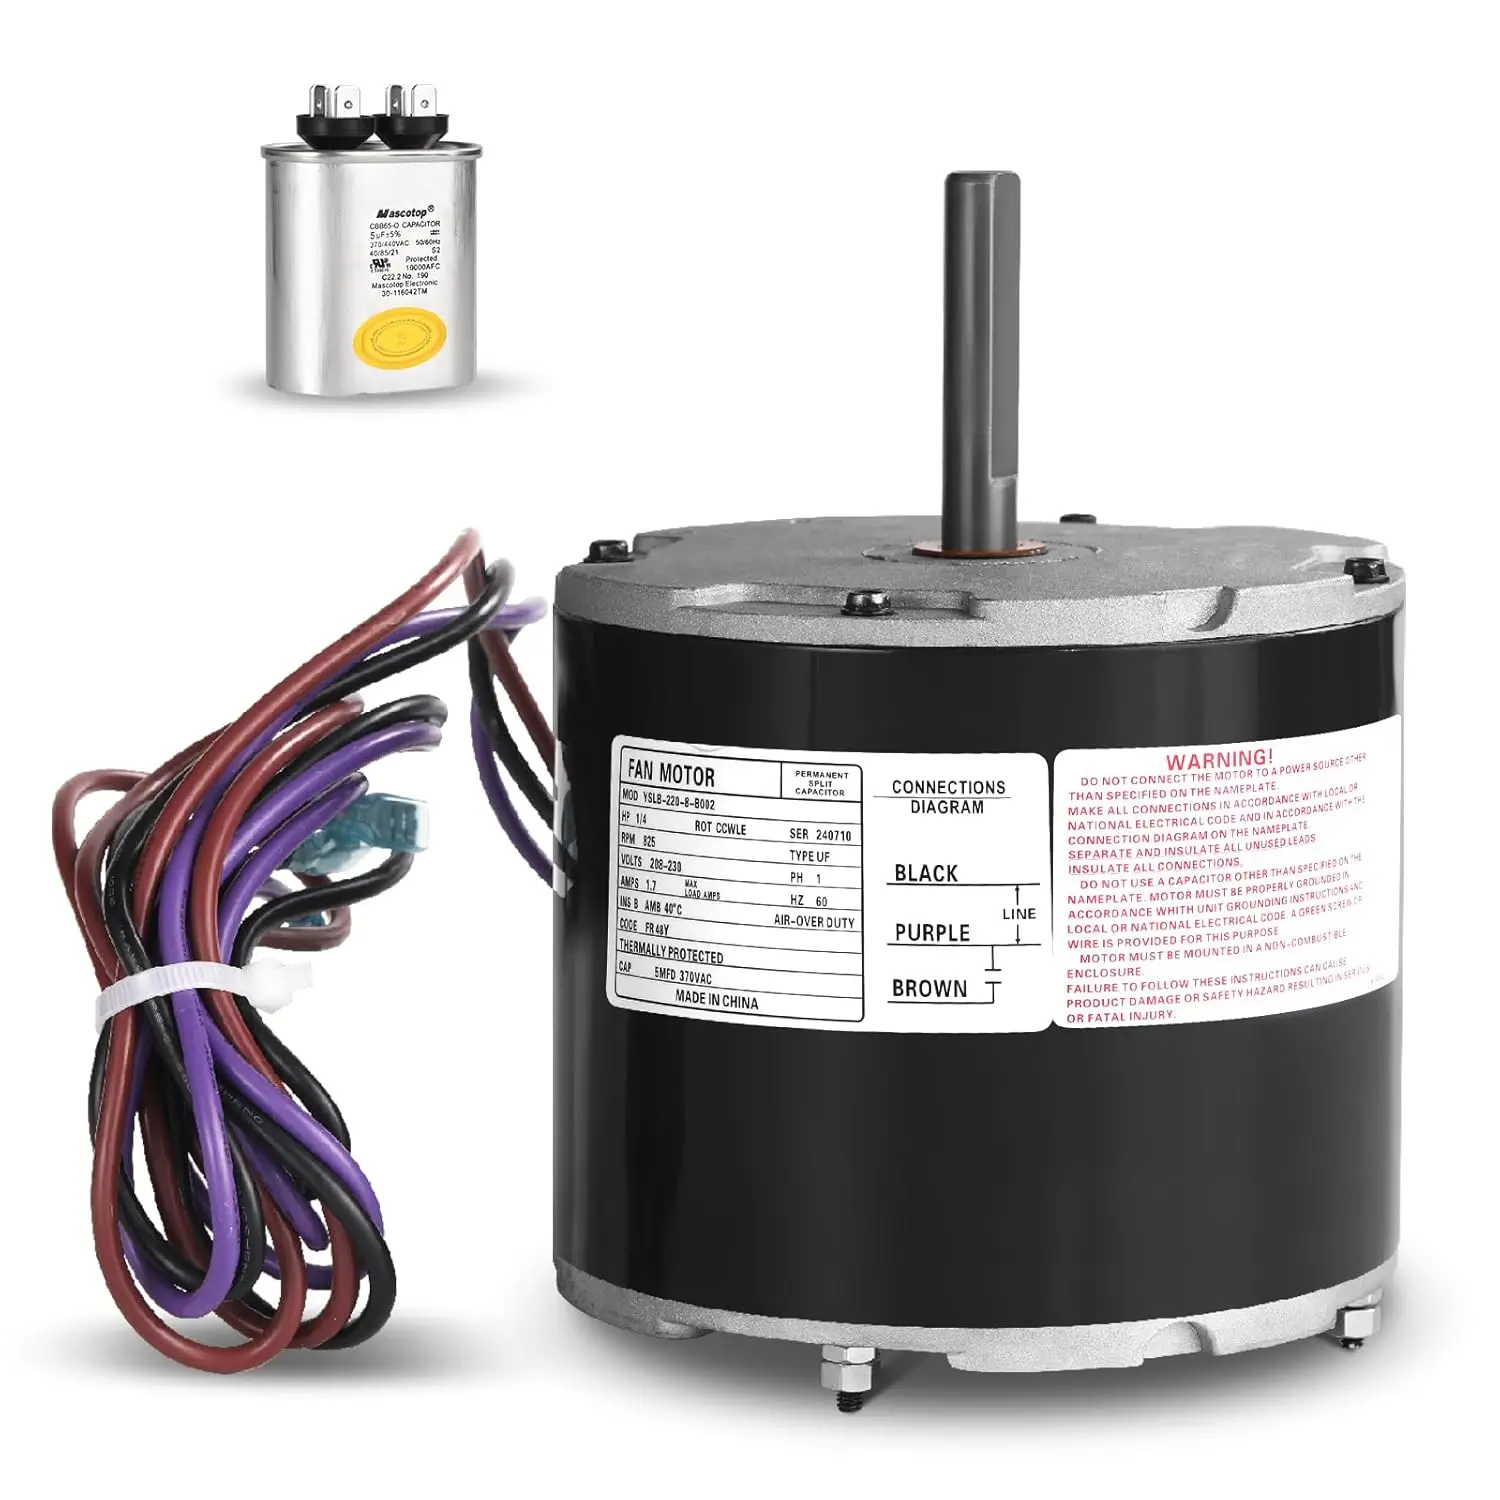
- Reliable Performance: Operating at 208/230 volts and 60 Hz, this motor ensures that your cooling system functions smoothly and efficiently.
- Easy Installation: Even if you’re not a seasoned technician, this model is designed for straightforward installation as a direct replacement for the Lennox 100483 and YSLB-220-8-B001 models.
- Durability: With robust construction meant to withstand daily operations, this motor is built for longevity in residential and commercial applications alike.
Step-by-Step: Replacing Your Condenser Fan Motor
Before you start, gather your tools. You’ll need a screwdriver, multimeter, and possibly a socket wrench.
Step 1: Safety First
Turn off the power to your HVAC system to avoid any electrical mishaps. Double-check that it’s completely turned off using your multimeter. As someone who values readiness in all scenarios, securing your approach is your first line of defense.
Step 2: Access the Old Motor
Locate the outer panel on the condenser unit and unscrew it. Remove any obstacles blocking access to the condensing fan motor. This will often require gently lifting or removing the fan assembly itself, so proceed with care.
Step 3: Disconnect and Remove the Old Motor
Once you’ve accessed the motor, disconnect the wiring harness. It’s wise to take a photo of the wiring setup for reference during installation. Unscrew and remove the old motor from its mount. Be sure to keep track of screws and other small parts—they could save you a cumbersome search down the line.
Step 4: Prepare the New High-Efficiency Motor
Take your new high-efficiency 1/4 HP condenser fan motor and compare its setup with the one you just removed. This model’s 825 RPM speed translates to optimal airflow, which is critical for efficient cooling.
Step 5: Install the New Motor
Attach the new motor in the same position as the older model, ensuring that it’s secured firmly. Follow your reference photo to reconnect the wiring exactly as it was. This step is essential for maximizing your HVAC’s operational efficiency and minimizing future issues.
Step 6: Test Your System
Return any paneling to its original position and turn the power back on at the main switch. Allow your HVAC system a few moments to start up, then listen for the low hum of a well-functioning condensing fan motor. Monitor for proper performance across the next few days to ensure everything is operating smoothly.
Conclusion
Replacing your condensing fan motor doesn’t just enhance your HVAC system’s performance; it also fortifies your home’s foundational comfort during any season. The high-efficiency 1/4 HP condenser fan motor, operating at 208/230 volts, ensures that you stay cool when it counts the most.
In a world where readiness and adaptability are paramount, knowledge about the components that work tirelessly behind the scenes offers reassurance. Equip yourself with this understanding, and you’ll find confidence in facing any element life throws at you, be it an intense summer heatwave or an unforeseen power outage. Remember, the strength of your environment and your ability to control it lies within your reach.
For further guidance on maintaining your systems and gear, continue to embrace readiness as a lifestyle—preparation today safeguards us tomorrow. Don’t just survive; thrive!
Leave a Reply